Not all that is vintage, is found sitting idly on the shelf in an antique shop. Occasionally you see something in the wild that is a thing of beauty. Especially when it still functions, and in some cases perhaps better than when it was new.
On my recent visit to Glacier National Park, I was lucky enough to get a glimpse of the rare “Red Jammer”. Why is it called a “Red Jammer”?
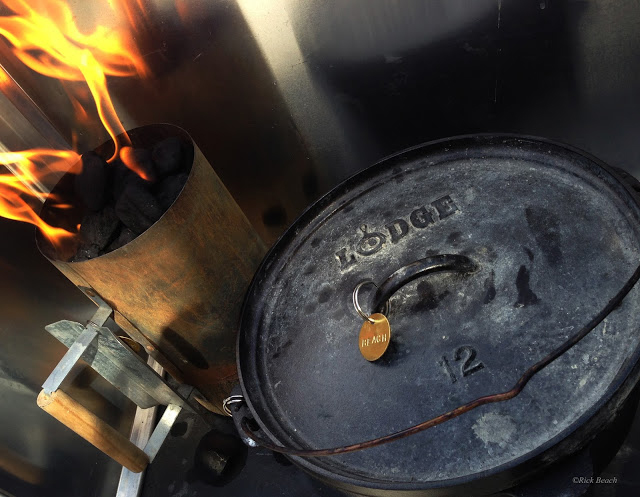
Some of us suffer from “Cast Iron Sickness”. We collect and buy vintage cast iron cookware. I suffer from it myself. When you find you keep buying and can’t stand to sell a piece you have caught the fever.
I not only buy, collect, and restore. I also love putting my vintage cast iron to use.
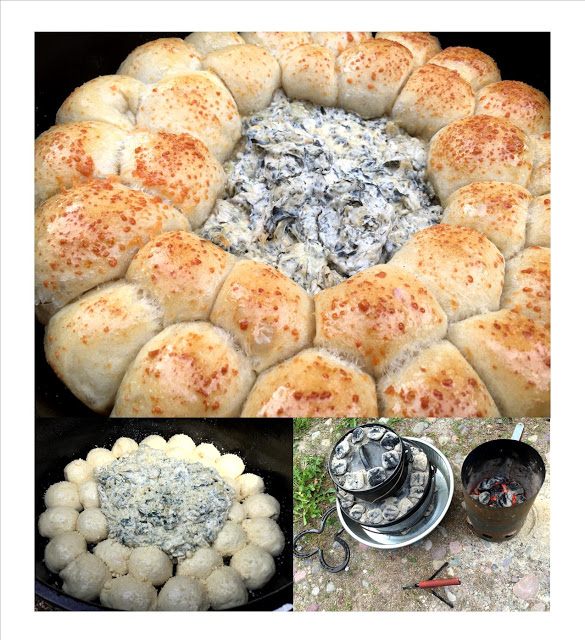
On a recent camping trip to Glacier National Park I did just that. What a treat to slow the pace down and take the time to do some cooking over a fire or hot coals. Fresh homemade Dutch Oven biscuits, slathered with melting butter, and the best local jams you can find.
On one occasion I made an appetizer for a group of 6 of us. One of my favorites is Dutch Oven Rolls, and an Artichoke-Spinach dip. I am not real keen on either of these ingredients. But when combined and other items added this becomes one of those additive foods.
Follow this link for links to both the Rolls as well as the Dip Recipes. Impressive, Easy, and Oh so good!
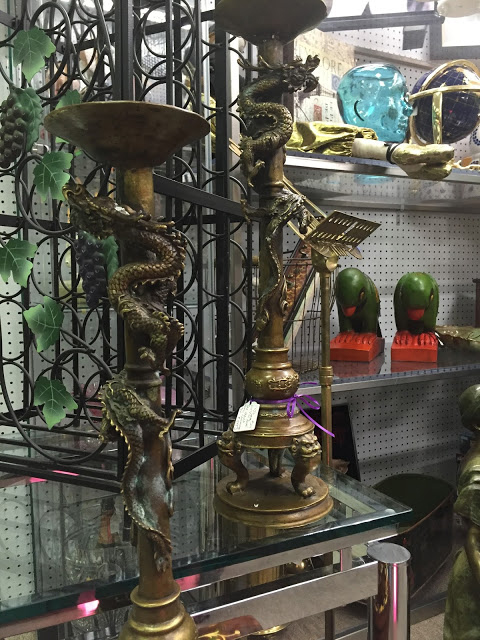
Dragon Candle Holders sold in less than a week.
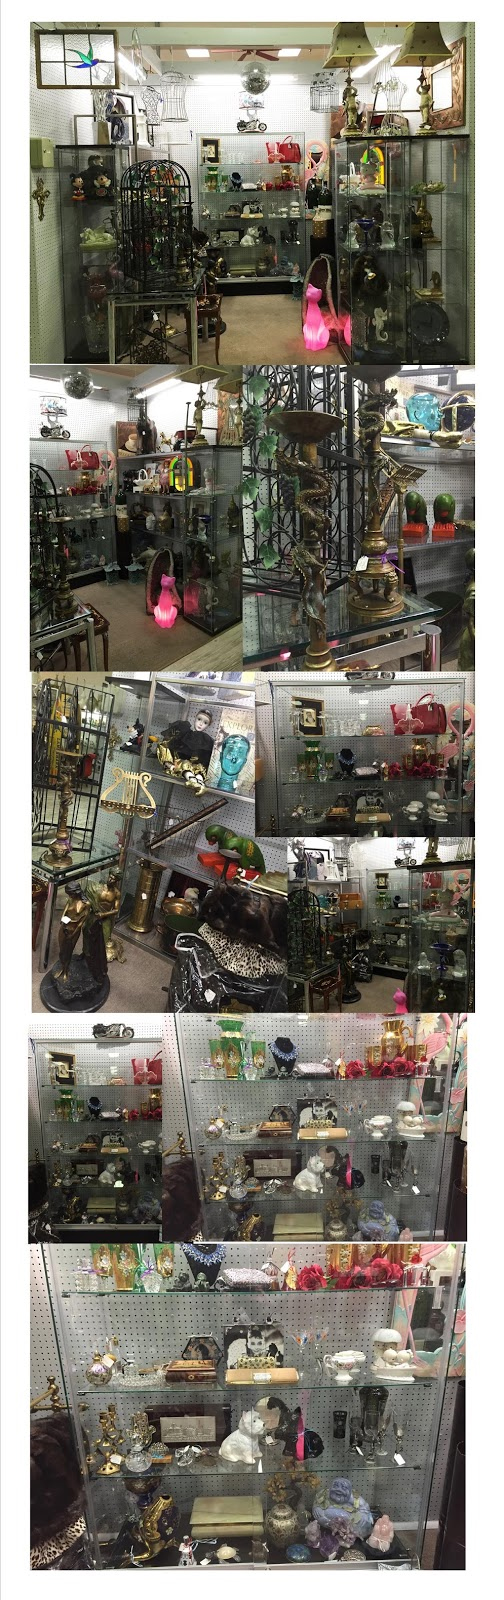
Grand opening. Select items Sale Tagged for the month of March 2016.
New booth just opened March 2016. Stocking it up for Grand Opening.
Check for tagged sale items the month of March.
Vendor #24 Charleston Antique Mall
560 S. Decatur Blvd
Las Vegas, Nevada 89107
702 228-4783 Click for Map to street address
Glass 6ft case just inside the main entrance Early 2016 we expanded into a Booth area too – Ask front desk for both of our locations
Gemstone lapidary specimens finished and Raw
Amethyst Geodes cut and polished
Carved Stone Asian figures – Amethyst, Fluorite, Jade, etc
High end collectibles, Lalique, Baccarat, Crystal, Purses
Sterling & Costume Jewelry
Art & Unique Collectibles
Collects – Sells – Buys
High End used-opened Merchandise and Merchandising products
If you are in Las Vegas, NV this weekend come to the Old Mormon Fort. We start Dutch Oven competition cooking Saturday (3/19/2016) 8am. Food will be ready and available free to the public around 12:30 (Noon-ish)
Come have some fun watching and eating food prepared the old fashioned way. Many of the cooks cruise the Antique shops, Estate Sales, and garage sales looking for vintage finds. Many of us not only cook but collect vintage cookware.
You might see the old hang crank egg beater, or biscuit cutter in action. Not to mention all the cast iron Dutch Ovens being put to the test!
We don’t just stick our vintage/antique pots on the garage shelf to gather dust. You will be amazed at what some of these cooks will prepare in cast iron over real fire, using charcoal.
At the same time enjoy some Las Vegas heritage. This event takes place at the Old Mormon Fort located at the corner of N. Las Vegas Blvd & E Washington Ave. (Next to Cashman Field)
Once you get your fill of food, head out to the Antique Shops in search of your own Cast Iron.
Opening soon. Mid March 2016. Be sure to stop by and find out where we are located.
Vendor #24 Charleston Antique Mall
560 S. Decatur Blvd
Las Vegas, Nevada 89107
702 228-4783 Click for Map to street address Glass 6ft case just inside the main entrance Early 2016 we expanded into a Booth area too – Ask front desk for both of our locations
Gemstone lapidary specimens finished and Raw
Amethyst Geodes cut and polished
Carved Stone Asian figures – Amethyst, Fluorite, Jade, etc
High end collectibles, Lalique, Baccarat, Crystal, Purses
Sterling & Costume Jewelry
Art & Unique Collectibles
Collects – Sells – Buys
High End used-opened Merchandise and Merchandising products
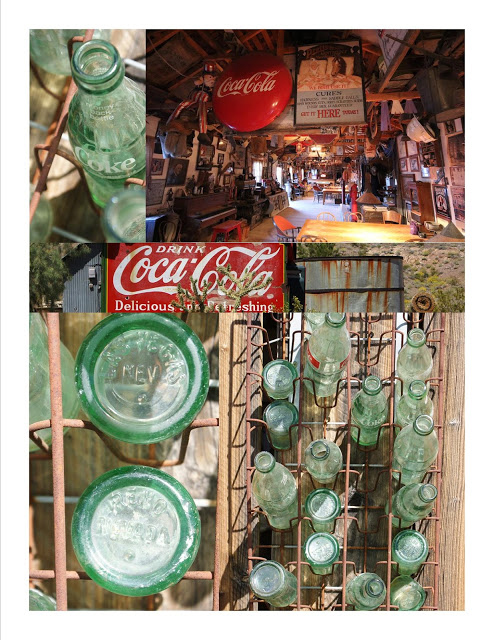
How many know what I mean if I would ask you “Do you want to GO FOR A COKE?”
Back in the day all coke, soda, pop, or soda-pop came in glass bottles. When a few friends were standing around a vending machine someone would say “Go for a Coke?” It meant someone (the looser) would end up reimbursing everyone what they paid for their coke.
The bottom of the bottles always had the city of a bottler molded in the glass. The person that received a bottle with the city the furthest away, would be safe. This continued through the group of friends until the one with the bottle showing closest city, became the loser. The loser reimbursed everyone their nickle, dime, or quarter depending on what the price was in your day.
There were several variations. Sometime the furthest away collected from all playing. Walking away with several Cokes worth of change.
Who remembers these? Click image to see video! Find one fully functional for your Bar or Ice Cream Social
Vendor #24 Charleston Antique Mall
560 S. Decatur Blvd
Las Vegas, Nevada 89107
702 228-4783 Click for Map to street address
Glass 6ft case just inside the main entrance Early 2016 we expanded into a Booth area too – Ask front desk for both of our locations
Gemstone lapidary specimens finished and Raw
Amethyst Geodes cut and polished
Carved Stone Asian figures – Amethyst, Fluorite, Jade, etc
High end collectibles, Lalique, Baccarat, Crystal, Purses
Sterling & Costume Jewelry
Art & Unique Collectibles
Collects – Sells – Buys
High End used-opened Merchandise and Merchandising products
Please visit our expanded double booth area – Ask front desk for our location.
Gemstone lapidary specimens finished and Raw
Amethyst Geodes cut and polished
Carved Stone Asian figures – Amethyst, Fluorite, Jade, etc
High end collectibles, Lalique, Baccarat, Crystal, Purses
Sterling & Costume Jewelry
Art & Unique Collectibles
Collects – Sells – Buys
High End used-opened Merchandise and Merchandising products